
VirtualBox is a powerful and popular open-source virtualization software that allows you to run multiple operating systems on a single machine. While VirtualBox provides pre-built binaries for many Linux distributions, sometimes you may want to build it from source, especially if you’re using a less common distro like Devuan. Modern builds do not include VBox in the maintream repos, but the quality of like tools (like setting up bridged network devices) cannot be beat by Qemu.
Devuan is a fork of Debian that removes the systemd init system, providing an alternative for those who prefer a more traditional sysvinit or OpenRC approach. Building VirtualBox from source on Devuan can be a bit more involved than on mainstream distros, but it’s certainly doable with the right steps.
In this blog post, I’ll walk you through the process of compiling VirtualBox from its source code on a Devuan system. We’ll cover the necessary dependencies, the build process, and any Devuan-specific considerations you’ll need to keep in mind. By the end, you’ll have a fully functional VirtualBox installation tailored to your Devuan environment.
Let’s get started!
Iketsi, CC BY-SA 4.0, via Wikimedia Commons
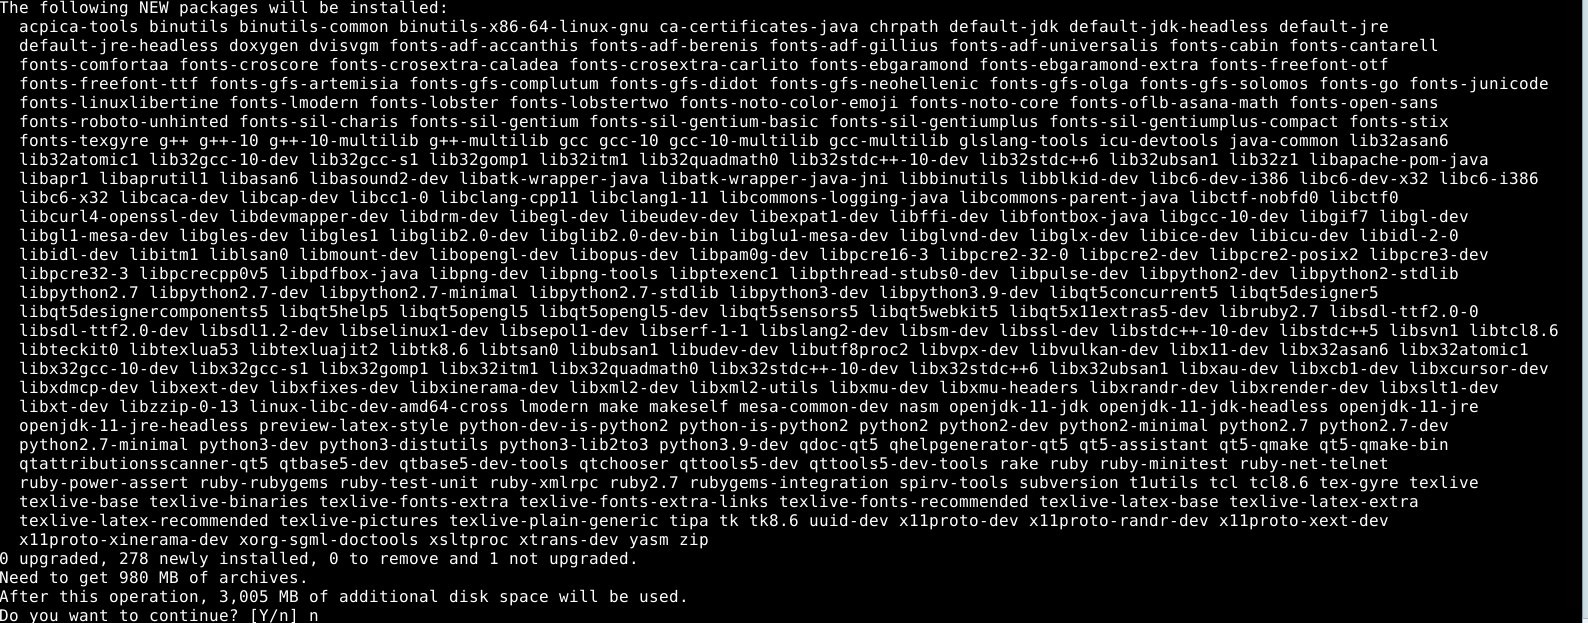
Some adjustments will need the official instructions are outdated and the recommended packages do not install in one go. These are common error messages when trying to buil the VirtualBox source code on Devuan:
Package lib32gcc1 is not available, but is referred to by another package.
This may mean that the package is missing, has been obsoleted, or
is only available from another source
However the following packages replace it:
  lib32gcc-s1
Package ia32-libs is not available, but is referred to by another package.
This may mean that the package is missing, has been obsoleted, or
is only available from another source
However the following packages replace it:
  lib32z1
You may also find that linux-kernel-headers does not register in modern Devuan or Debian versions. This is why you will need to use apt-cache search to find the headers that correspond with the exact version of your kernel.
The final product will be the following installation invocation on your command line:
apt-get install acpica-tools chrpath doxygen g++-multilib libasound2-dev libcap-dev \
        libcurl4-openssl-dev libdevmapper-dev libidl-dev libopus-dev libpam0g-dev \
        libpulse-dev libqt5opengl5-dev libqt5x11extras5-dev qttools5-dev libsdl1.2-dev libsdl-ttf2.0-dev \
        libssl-dev libvpx-dev libxcursor-dev libxinerama-dev libxml2-dev libxml2-utils \
        libxmu-dev libxrandr-dev make nasm python3-dev python-dev qttools5-dev-tools \
        texlive texlive-fonts-extra texlive-latex-extra unzip xsltproc \
        \
        default-jdk libstdc++5 libxslt1-dev linux-headers-5.10.0-29-amd64 makeself \
        mesa-common-dev subversion yasm zlib1g-dev glslang-tools \
        lib32z1 libc6-dev-i386 lib32gcc-s1 lib32stdc++6
Building VirtualBox
To build VirtualBox, follow these steps:
1. Change to the root directory of the sources and execute the configure script:
./configure --disable-docs --disable-hardening
This will create a file called ‘AutoConfig.kmk’ containing paths to the various tools on your system, as well as an environment setup script called ‘env.sh’. This step only needs to be done once, unless something changes in your build tool setup.
I decided to add the –disable-docs option to avoid the below common error during the build:
warning: failed to load external entity "http://www.oasis-open.org/docbook/xml/4.5/docbookx.dtd"
2. Open a shell and source the generated environment setup script ‘env.sh’:
source ./env.sh
3. To build a release package, type:
kmk all
This will produce the required binaries in the out/linux.x86/release/bin/ directory.
If you want to build a debug version, type:
kmk BUILD_TYPE=debug
Note that if you have more than one CPU core, kmk will automatically do a parallel build.
Building VirtualBox Packages for Distribution
When creating packages for redistribution, it’s important to keep hardening enabled. Never use the --disable-hardening switch as we did with our custom build.
To be more LSB-compliant, you can change the default paths used by the VirtualBox binaries to find their components. Add the following build variables to LocalConfig.kmk:
VBOX_PATH_APP_PRIVATE_ARCH := /usr/lib/virtualbox
VBOX_PATH_SHARED_LIBS := $(VBOX_PATH_APP_PRIVATE_ARCH)
VBOX_WITH_ORIGIN :=
VBOX_WITH_RUNPATH := $(VBOX_PATH_APP_PRIVATE_ARCH)
VBOX_PATH_APP_PRIVATE := /usr/share/virtualbox
VBOX_PATH_APP_DOCS := /usr/share/doc/virtualbox
VBOX_WITH_TESTCASES :=
VBOX_WITH_TESTSUITE :=
These settings will ensure that the VirtualBox binaries use the correct paths and that the build process is optimized for distribution.
Running the Built VirtualBox Binaries
After building the VirtualBox kernel module, you can run VirtualBox directly from the build target directory (out/linux.x86/release/bin/). First, build and install the VirtualBox kernel module:
cd out/linux.amd64/release/bin/src
make
sudo make install
cd ..
Exchange linux.x86 for linux.amd64 if you are on a 32-bit system. Make install may also be left out if you are planning on using a local build for custom purposes.
Then, you can load the kernel module using modprobe vboxdrv and make sure you give yourself read and write access to /dev/vboxdrv. Finally, you can start one of the VirtualBox frontends, such as:
If you want a statically compiled VirtualBox to manually run as you please, you can just leave all the components in whichever directory and manualy start it.
To avoid the below error, you may first need to add the current user or users to the vboxusers group.
vboxdrv.sh: failed: Cannot change group vboxusers for device /dev/vboxdrv.
…
/usr/sbin/groupadd vboxusers
/usr/sbin/usermod -a -G vboxusers YOURUSERNAME
sh vboxdrv.sh setup
With sudo or as a superuser, you will need to invoke the vboxdrv.sh script before you may launch virtual machines.
sudo vboxdrv.sh start
To add it as a an init.d startup script, invoke the below:
sudo cp vboxdrv.sh /etc/init.d/vboxdrv
sudo chmod +x /etc/init.d/vboxdrv
sudo chown root:root /etc/init.d/vboxdrv

sudo update-rc.d vboxdrv defaults
sudo update-rc.d vboxdrv enable
Aside from regular startup scripts, you can also add it to your rc.local on startup or incorporate it into custom scripts, programs, or sessions startups for your desktop environment. The sky is the limit with custom VirtualBox builds.
You may then lauch the binary from your sbin or in a local directory as so:
./VirtualBox
NOTE: You may need to restart before sucessfully launching your first virtual machine.
With these build instructions, you should now have everything you need to compile VirtualBox from source on Devuan or alternative Debian-based systems. Whether you’re building a release package for distribution or a debug version for development, the process is straightforward and well-documented. Remember to keep hardening enabled when creating packages for redistribution, and feel free to customize the default paths to better suit your system’s layout. Once you’ve built the VirtualBox binaries, you can easily run the software directly from the build directory after installing the kernel module. VirtualBox is a powerful virtualization tool, and with these tips, you’ll be able to get it up and running on your own Linux environment.
Happy virtualizing!